
Article last updated: January 2026
Learning how to type with your pinky fingers is the final — and most demanding — step in mastering touch typing. These fingers control more keys than any others and require patience, precision, and consistency to train properly.
Use this page in order: Watch the video first, then practice near the bottom using TypeDrift and optional drills.
Watch the lesson video first
Quick routine: Watch once, then practice for 10–15 minutes. Expect fatigue and frustration early — that’s normal for pinky training.
Why pinky fingers are so challenging
Your pinky fingers are naturally weaker, less flexible, and used less in everyday life. Unlike index and middle fingers, learning pinky typing requires building strength, flexibility, and muscle memory at the same time.
The pinky fingers are the final hurdle. Master them, and you’ve memorized the entire keyboard.
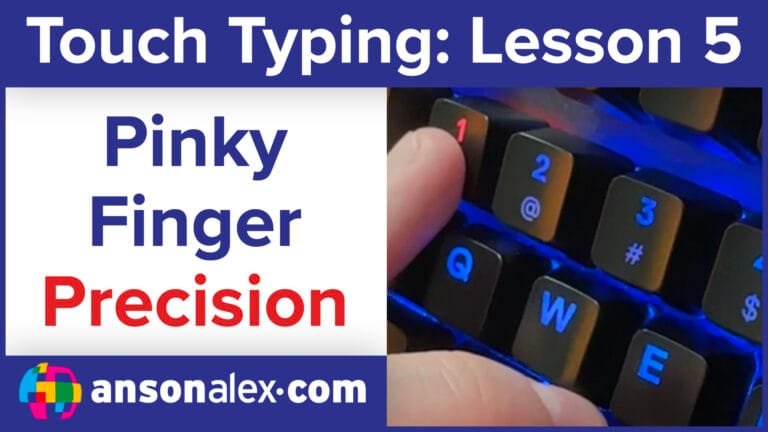
Pinky finger keys you’re learning
Left pinky:  A (home row), Shift, 1, Q, Z
Right pinky: ; (home row), Shift, 0, P, /
Important note: The right pinky is responsible for more keys than any other finger — including backspace, quotes, brackets, and slashes. This is why it feels overloaded at first.
Training strategy for pinky fingers
- Practice in short, focused sessions (10–15 minutes)
- Expect fatigue — stop before accuracy collapses
- Return to the home row after every keystroke
- Use your pinkies for backspace while practicing
Manual drills (optional)
a a a a   ; ; ; ;
q q q q   p p p p
z z z z   / / / /
q z q z   p / p /
Practice Pinky Fingers in TypeDrift
TypeDrift lets you isolate pinky keys and build strength without overwhelming your hands. This is the safest way to complete touch typing training.

