If your keyboard feels gross, sticky, or “slow,” a real clean can fix it. This guide shows the safe way to clean laptop keyboards and external keyboards (including mechanical keyboards where you remove keycaps). The video below is the full filmed deep-clean — this article is the thorough written companion with extra safety rules, laptop-specific steps, and trusted references.
Quick note: Laptop keyboards are built differently than mechanical keyboards. In most cases you should not remove laptop keycaps unless you have a model-specific guide. This article covers the safe laptop method first, then the mechanical/external deep-clean method.
If you want your typing to feel better after cleaning, start here: my Touch Typing Hub and TypeDrift (accuracy-first practice). A clean keyboard matters most when your technique is solid.
Very important safety rule: Do not spray cleaner directly onto any keyboard. Apply liquid to a cloth or swab (lightly), not the device. For laptops, avoid pushing moisture into openings.
Table of Contents
- 1. Identify Keyboard Type
- 2. Quick Start Checklist: Tools + Warnings
- 3. How To Clean a Laptop Keyboard Safely
- 4. External Keyboards: Fast Clean
- 5. Mechanical / Removable Keycap Deep Clean
- 6. Fixing Sticky Keys
- 7. Reinstalling Keycaps Correctly
- 8. After-Clean Recalibration
- 9. Trusted Cleaning References
- 10. FAQ
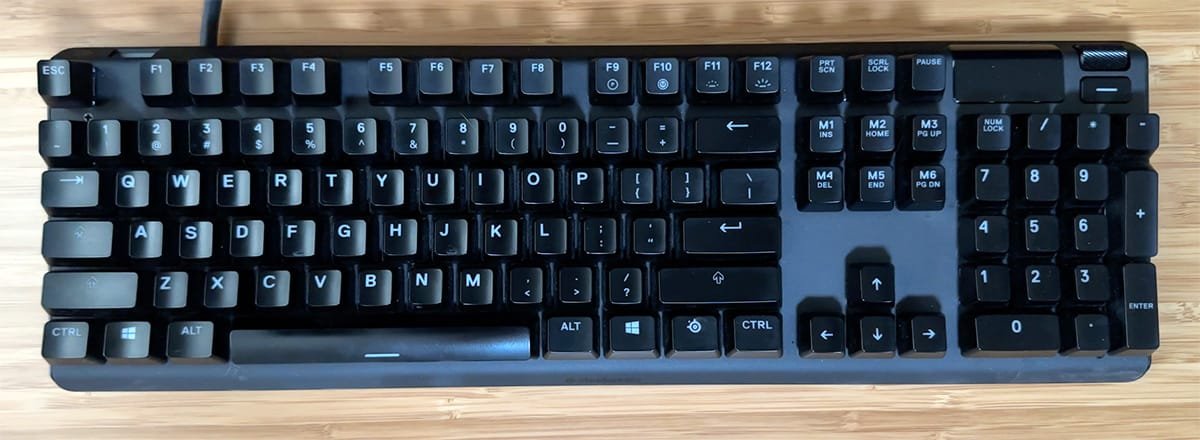
1) Identify Your Keyboard Type (This Changes Everything)
Before you clean anything, figure out what you’re working with. The “right” method depends on the keyboard type.
- Laptop keyboard (MacBook / Windows laptop / Chromebook): Keys usually use scissor mechanisms and fragile retainers. Cleaning should focus on blowing/ brushing out debris and careful surface wiping.
- External membrane keyboard: Usually fine for a thorough surface clean and debris removal. Keycaps may not be designed for frequent removal.
- Mechanical keyboard: Keycaps are designed to be removed. This is the best candidate for a deep clean like the one in my video.
2) Quick Start Checklist (Tools + What Not To Do)
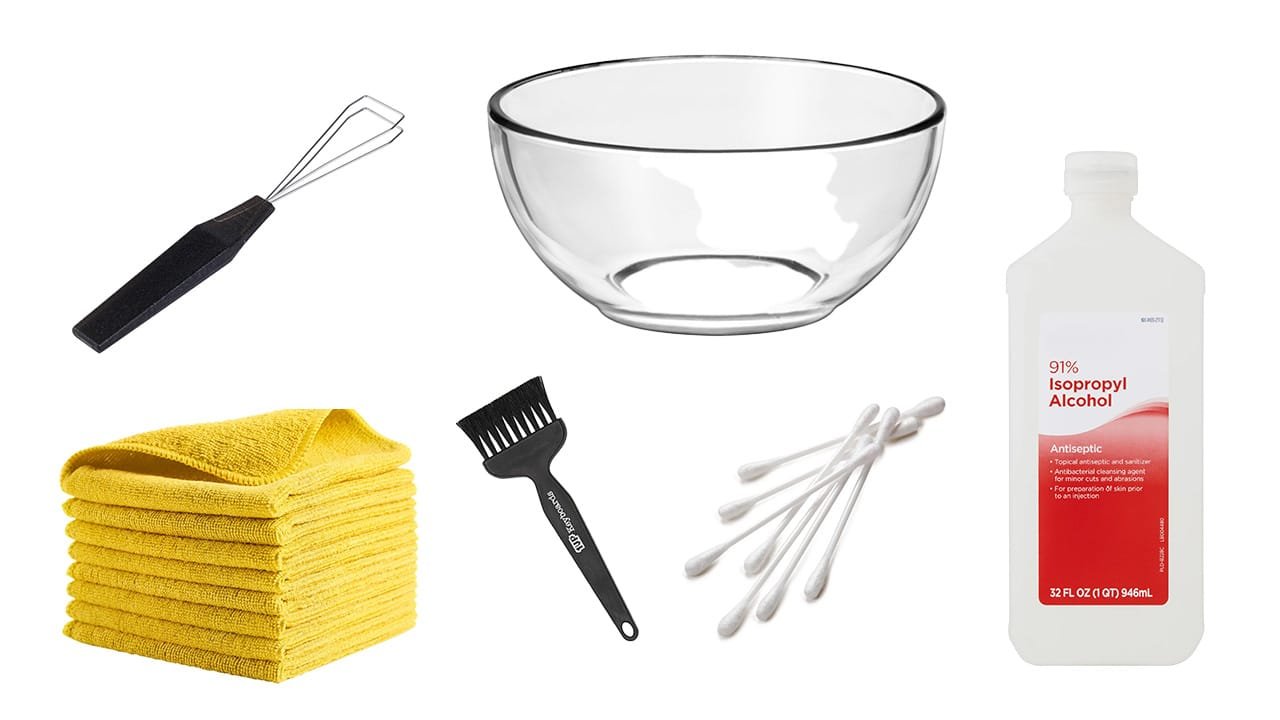
Tools I recommend (covers laptop + external + mechanical):
- Microfiber cloth (2 is ideal: one for cleaning, one for drying)
- Soft brush (clean makeup brush or small detailing brush works great)
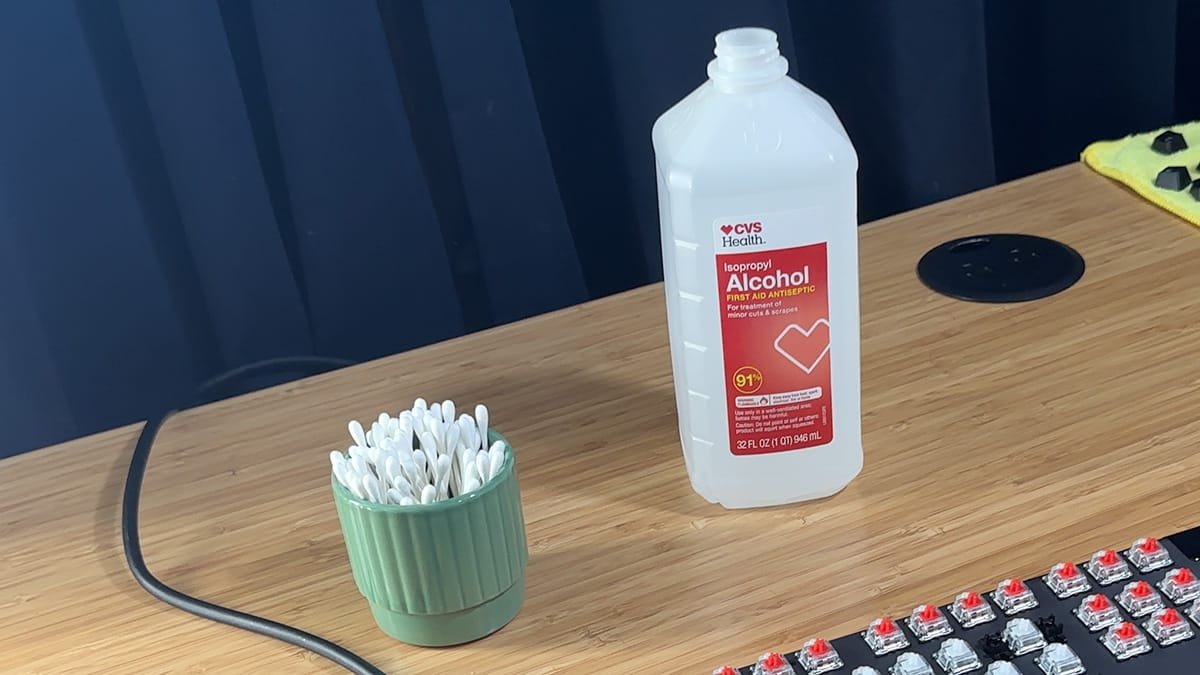
- Cotton swabs (Q-tips) for corners and edges
- 70% isopropyl alcohol (IPA) or alcohol wipes (use lightly, on cloth/swab)
- Compressed air (optional, but very helpful)
- Keycap puller (mechanical keyboards)
- Dish soap + warm water (washing removable keycaps)
- Tweezers (optional, for hair and stubborn debris)
Do NOT do these things:
- Do not spray liquid directly onto a keyboard.
- Do not use bleach, ammonia, or abrasive cleaners.
- Do not reassemble until everything is completely dry.
- Do not remove laptop keys “just to clean better” unless you have a model-specific guide and you’re comfortable with fragile parts.
- Do not tilt compressed air upside down (it can spit propellant/moisture).
Power safety: Unplug external keyboards. For wireless keyboards, turn them off and remove batteries if possible. For laptops, shut down and unplug the charger.
3) How to Clean a Laptop Keyboard Safely
Laptop keyboards are the easiest to damage. The goal is simple: remove debris + sanitize key surfaces without pushing moisture into the chassis.
Step 1: Remove loose debris (safe method)
- Shut down the laptop and unplug it.
- Hold it at a slight angle over a trash can (or gently upside down).
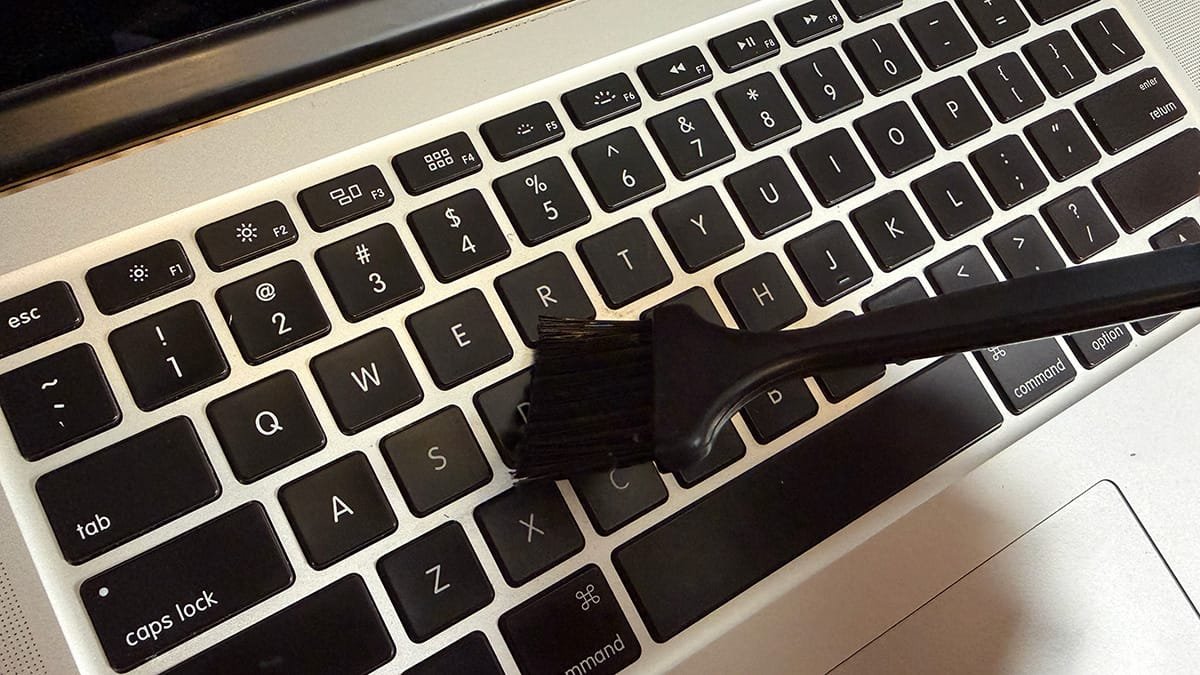
- Use a soft brush to sweep debris out from between keys.
- If you use compressed air, keep the can upright and use short bursts.
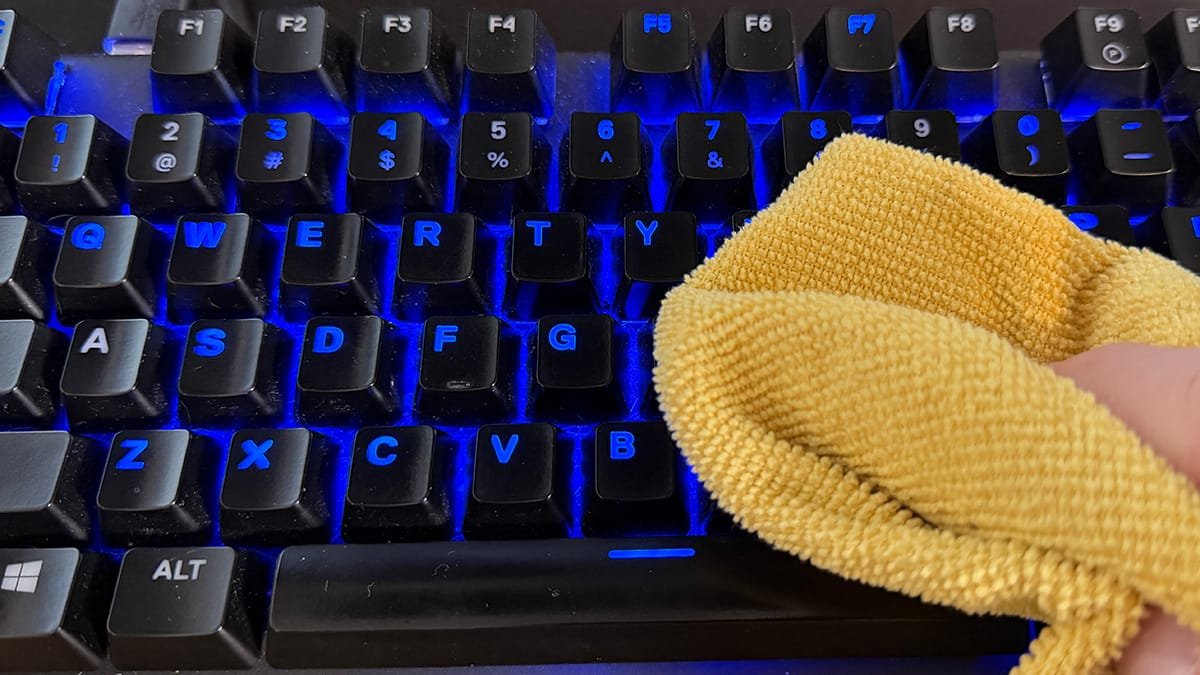
Step 2: Wipe key surfaces (no dripping)
Use a microfiber cloth that is lightly damp — not wet. If you’re disinfecting, use a small amount of 70% isopropyl alcohol on the cloth (not on the keyboard).
- Lightly dampen a microfiber cloth with water or 70% IPA.
- Wipe the tops of keys and the palm rest area.
- Use a cotton swab (barely damp) for edges/corners between keys.
Spill reality check: If a sugary or sticky drink got into a laptop keyboard, surface cleaning may not fully fix sticky keys. If keys keep sticking, you’ll usually need a model-specific guide or service to clean deeper.
4) External Keyboards: Fast Clean (No Keycap Removal)
If you don’t want to remove keycaps (or your keyboard isn’t designed for it), this gets you most of the benefit.
- Unplug / power off.
- Flip it over and gently tap to knock out loose debris.
- Brush between keys and use compressed air if available.
- Wipe key surfaces with a lightly damp microfiber cloth.
- Use a cotton swab for edges/corners.
5) Mechanical / Removable Keycap Deep Clean (Step-by-Step)
This is the full deep-clean method from the video, expanded with extra detail. It’s ideal when you have debris under keys, sticky keys, or you want the keyboard to feel new again.
Before you start: Your keyboard may be out of commission for hours (drying time). If you need to work, grab a backup keyboard first.
Step 1: Take a reference photo (reassembly insurance)
Take a full top-down photo before removing keycaps. If you have a non-standard layout, this saves a ton of time later.
Pro tip: Zoom in on your phone photo while reinstalling keys. This is especially helpful for the top row, function keys, and any custom keycap set.
Optional upgrade: If you want a “perfect” reassembly, take a second photo from a slight angle so you can see keycap profiles (some sets have subtle differences).
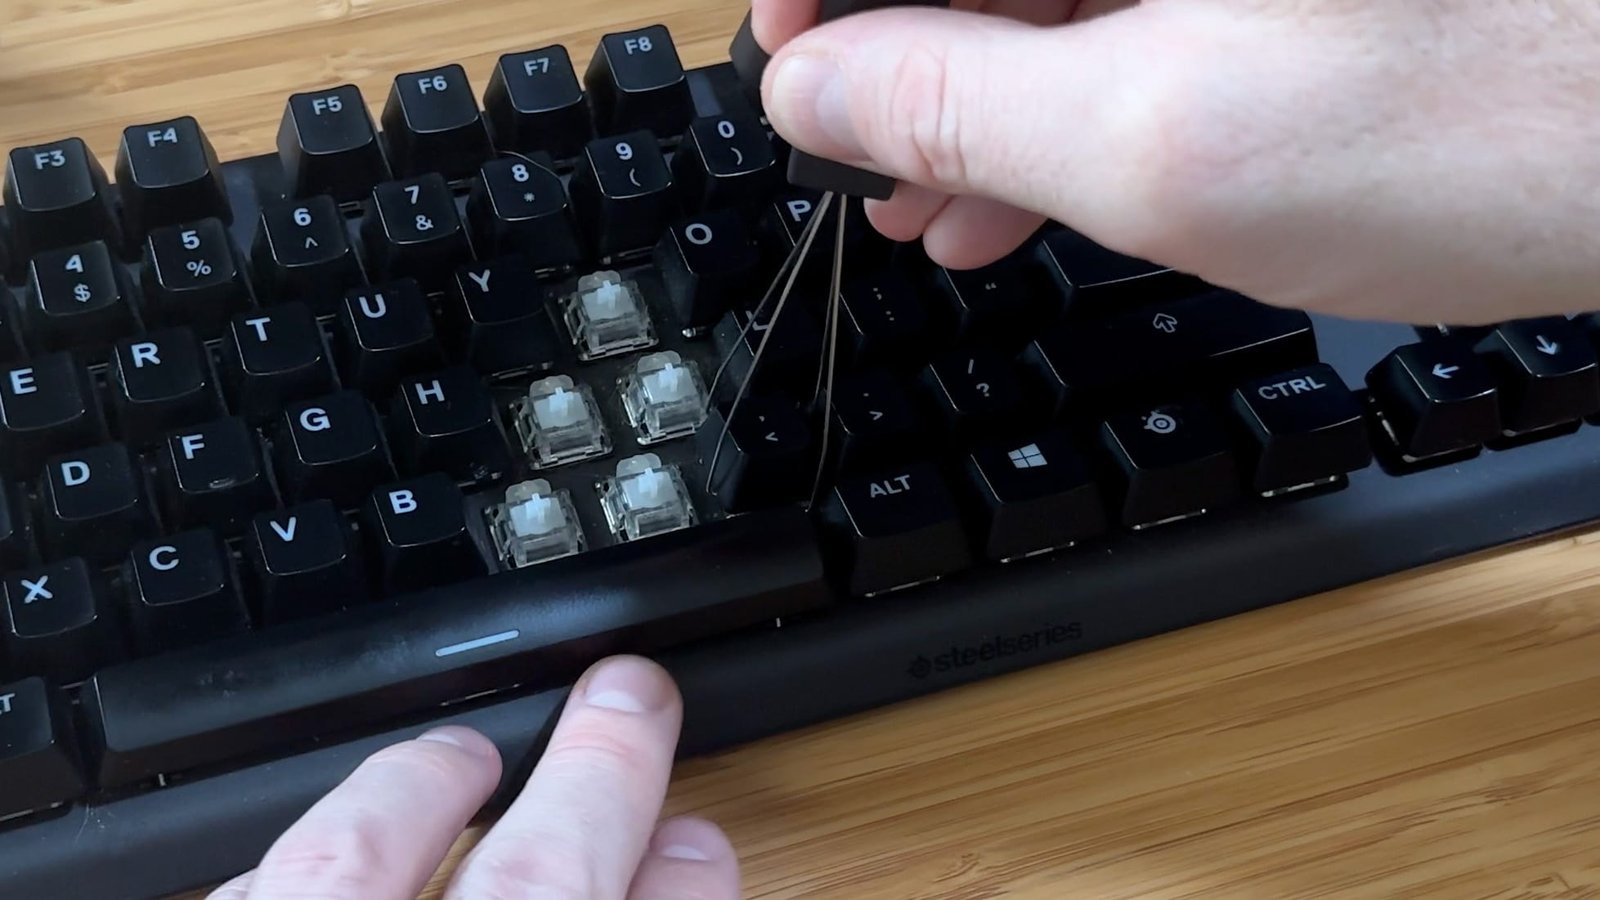
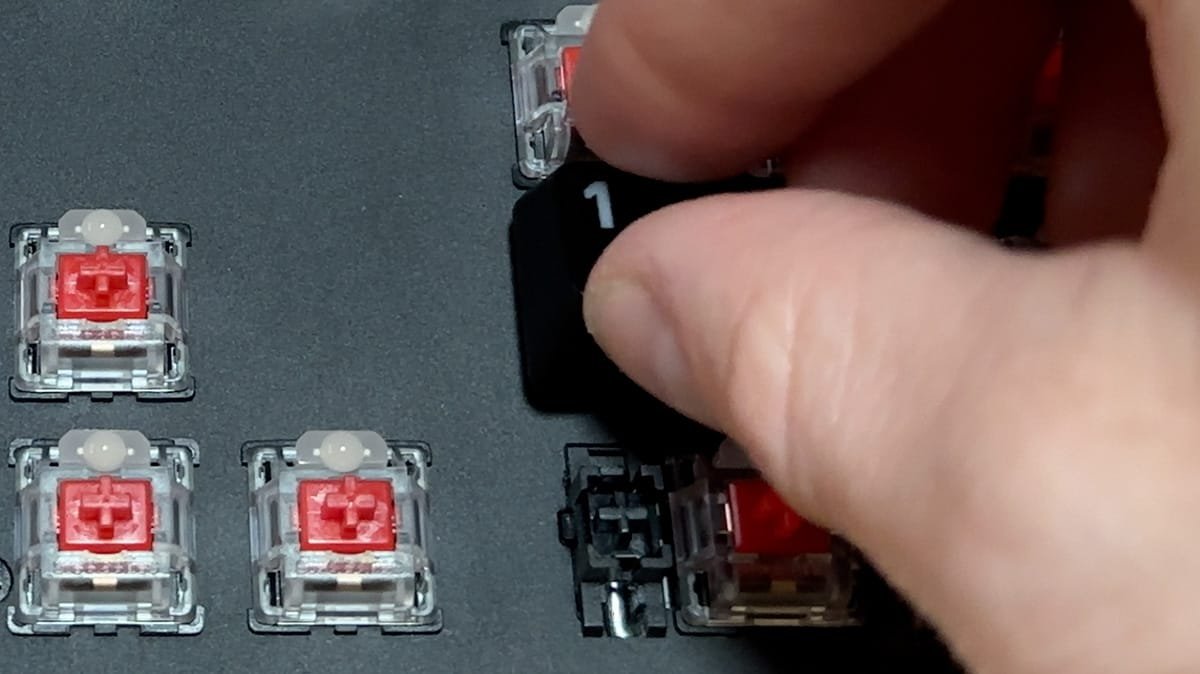
Step 2: Remove keycaps safely (pull straight up)
Use a keycap puller if you have one. If you use your hands, pull carefully and evenly. The rule is the same: pull straight up to avoid stressing switches.
- Start with standard letter keys.
- Pull straight up with steady pressure.
- If a key feels stuck, reposition your puller and try again (don’t twist hard).
Large keys need extra care: Shift, Enter, Backspace, Spacebar, Tab, and Caps Lock may use stabilizers. Pulling at a weird angle can bend stabilizers or crack the cap. Go slow.
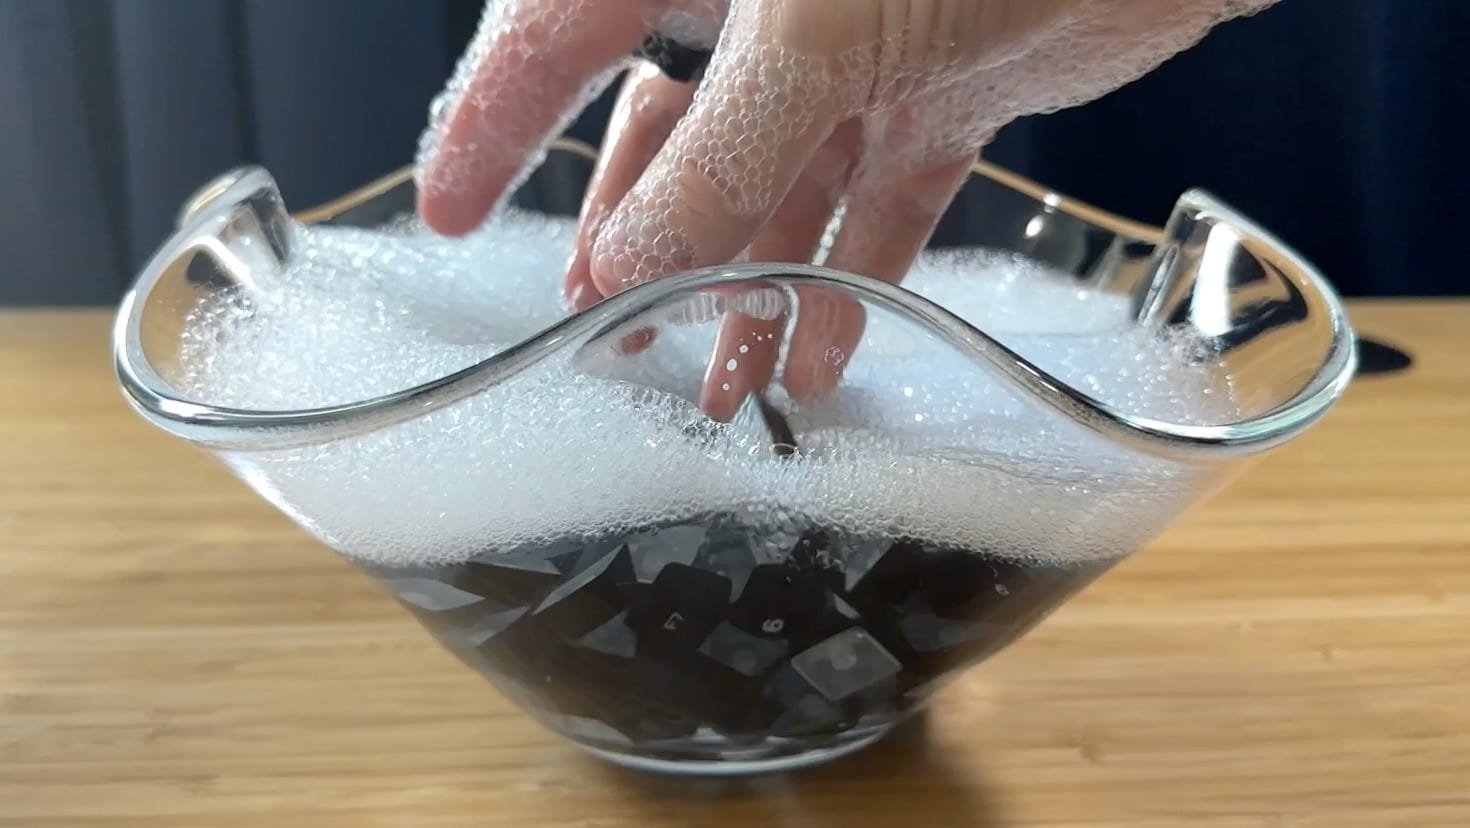
Step 3: Wash keycaps (soap + warm water)
Put removable keycaps in a bowl of warm water with a small amount of dish soap, gently scrub, then rinse thoroughly.
- Fill a bowl with warm water and add a few drops of dish soap.
- Add keycaps and gently scrub with your hands (or a soft toothbrush for heavy grime).
- Let them soak for 5–30 minutes depending on grime.
- Rinse until there is no soap residue.
- Dry on a towel and let them air dry fully.
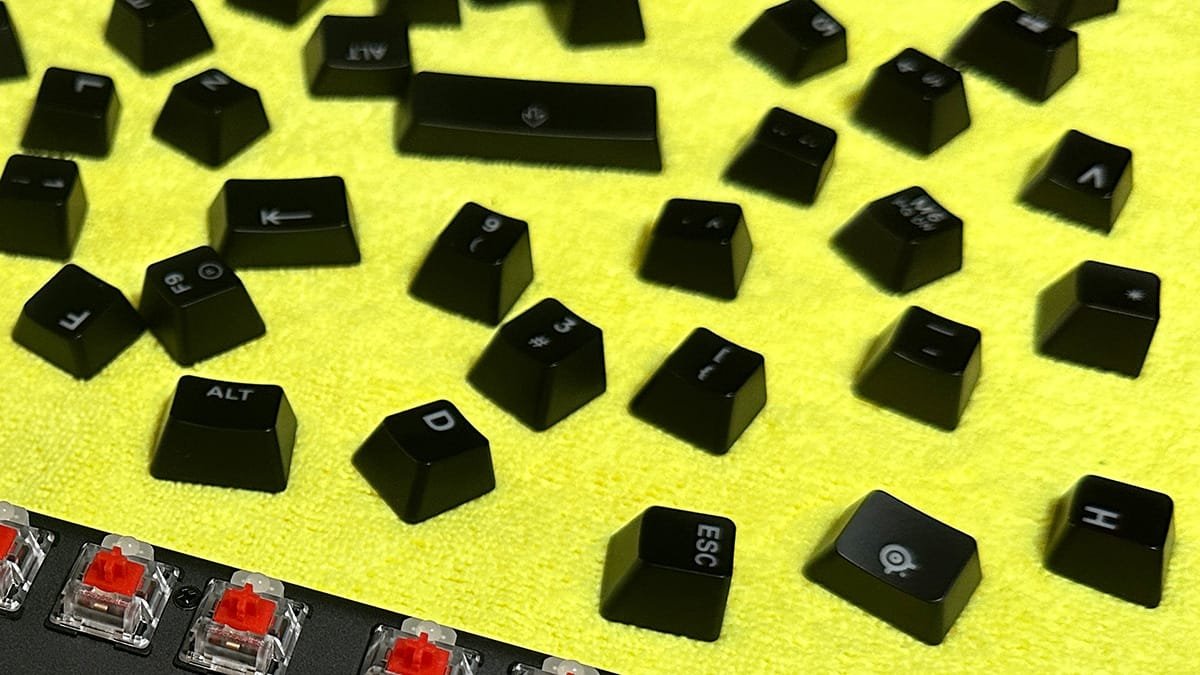
Step 4: Dry keycaps completely (don’t rush this)
Drying time depends on humidity and airflow. Pat them dry, shake out excess water, then let them air dry fully. Flip them halfway through to help airflow.
Don’t reassemble early: If keycaps feel even slightly damp, wait longer. Trapped moisture is how people create real problems.
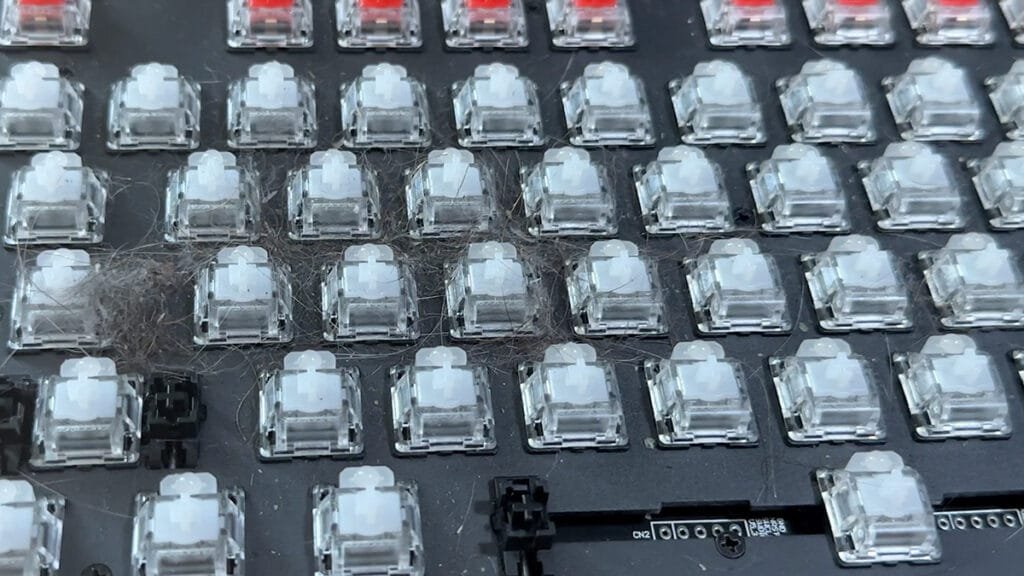
Step 5: Clean the keyboard base (where the real gunk lives)
With keycaps removed, you’ll see what actually accumulates: dust, hair, crumbs, and sticky residue near common spill paths.
- Flip the keyboard over and gently pat/tap to drop loose debris out.
- Use a brush and/or compressed air to remove semi-loose debris.
- Use cotton swabs with a small amount of isopropyl alcohol to scrub sticky spots and corners.
- Wipe surfaces with a microfiber cloth (lightly damp if needed).
Q-tip tip: Swap swabs often. If you use one too long, it can break down and leave fibers behind. If that happens, a microfiber cloth + air duster usually fixes it fast.
6) Fixing Sticky Keys (What Works vs What Doesn’t)
Sticky keys are usually caused by residue from spills (sugar, coffee, soda) or skin oils mixed with dust. The fix depends on how deep that residue traveled.
Sticky key fix (simple, often works)
- Remove the keycap for the sticky key.
- Brush around the switch and surrounding area.
- Use a barely damp cotton swab with isopropyl alcohol to clean around the switch housing and plate.
- Let it dry completely, then test.
If it’s still sticky (deeper contamination)
If a key is still sticking after surface cleaning, residue may be deeper (under the plate or inside the switch area). At that point, deeper disassembly depends on your keyboard design. If you aren’t comfortable opening the chassis, stop at the safe-clean stage or use a model-specific guide.
Don’t brute force it: If you open a keyboard, take photos as you go. Some boards have tight cables, LED layers, and plates that can be annoying to re-seat if you rush.
7) Reinstalling Keycaps Correctly (Avoid Damage)
Once everything is clean and dry, reassembly is straightforward — but don’t rush the big stabilized keys.
- Confirm keycaps are fully dry.
- Use your reference photo to match the layout.
- Press each keycap straight down from the top.
- If a key feels like it needs too much force, lift it and realign (don’t mash it).
- Do larger stabilized keys last so you can focus.
8) After-Clean “It Feels Weird” + TypeDrift Recalibration
After a deep clean, your keyboard can feel slightly “off” for a few minutes. That’s normal. The feel changes because friction and residue are gone — and your fingers notice.
Fast fix: Do a short accuracy-focused typing session to re-lock your muscle memory. That’s exactly what TypeDrift is for — accuracy-first practice with per-key stats so you can immediately see if any keys still feel off.
If you’re building long-term speed, start with technique and consistency first: Touch Typing Hub.
9) Trusted Cleaning References
If you want to cross-check this with official manufacturer guidance (especially for laptops and expensive devices), these are solid references:
- Apple: How to clean your Apple products
- Microsoft: How do I clean my Microsoft mouse or keyboard?
- Microsoft Surface: Clean and care for your Surface
- Logitech: Cleaning your Logitech device
- iFixit: How to deep clean a mechanical keyboard
10) Frequently Asked Questions
Usually, no. Most laptop keycaps use fragile scissor mechanisms that can break easily. Instead: shut the laptop down, hold it at an angle, brush/blow debris out, then wipe key tops with a lightly damp microfiber cloth (don’t spray liquid directly).
Shut down and unplug the laptop. Hold it at a slight angle, brush debris out, and use short bursts of compressed air (upright can). Then wipe the key surfaces with a microfiber cloth that’s lightly dampened with water or 70% isopropyl alcohol.
When used correctly, yes. Use 70% isopropyl alcohol lightly on a cloth or cotton swab (never sprayed directly). Avoid excess liquid and keep it out of openings. Let everything dry fully before powering on.
Yes, most removable keycaps can be washed in warm soapy water, rinsed thoroughly, and air-dried. The key rule is to let them dry completely before reinstalling to avoid trapping moisture near switches.
It depends on humidity and airflow, but plan for several hours. Many people let them dry 6–12 hours to be safe. Flip them halfway through to improve airflow, and don’t reinstall until they’re fully dry.
Sticky keys usually come from sugary spills or residue that gets deeper than the surface. If cleaning around the switch with a lightly damp alcohol swab doesn’t fix it, you may need deeper disassembly (mechanical keyboards) or a model-specific repair/service approach (laptops).
Yes, but use it properly: keep the can upright, use short bursts, and don’t tilt it upside down (that can spray propellant/liquid). For laptops, aim across the keyboard while it’s angled so debris falls out.
Usually, yes for key surfaces, as long as the wipe isn’t dripping and you avoid getting moisture into openings. Don’t scrub aggressively, and don’t use harsh chemicals like bleach or ammonia.
A quick wipe and debris removal every 1–2 weeks keeps things under control. A deep clean (keycaps off for mechanical keyboards) every few months is worth it if you type heavily, eat near your keyboard, have pets, or notice sticky keys.
That’s normal. A deep clean changes friction and key feel, so your fingers notice the difference. Do a short accuracy-focused typing session to re-lock muscle memory (TypeDrift is perfect for this).