Learning how to use Disk Utility for macOS is an inevitable must for those using Mac computers on a regular basis.
Disk Utility is Mac’s built-in disk management tool that allows you to diagnose, repair, partition and manage your hard drive. You can also use it to erase and manage external hard drives and flash drives.
Disk Utility is to macOS what Disk Management is to Windows.
Where is Disk Utility on Mac?
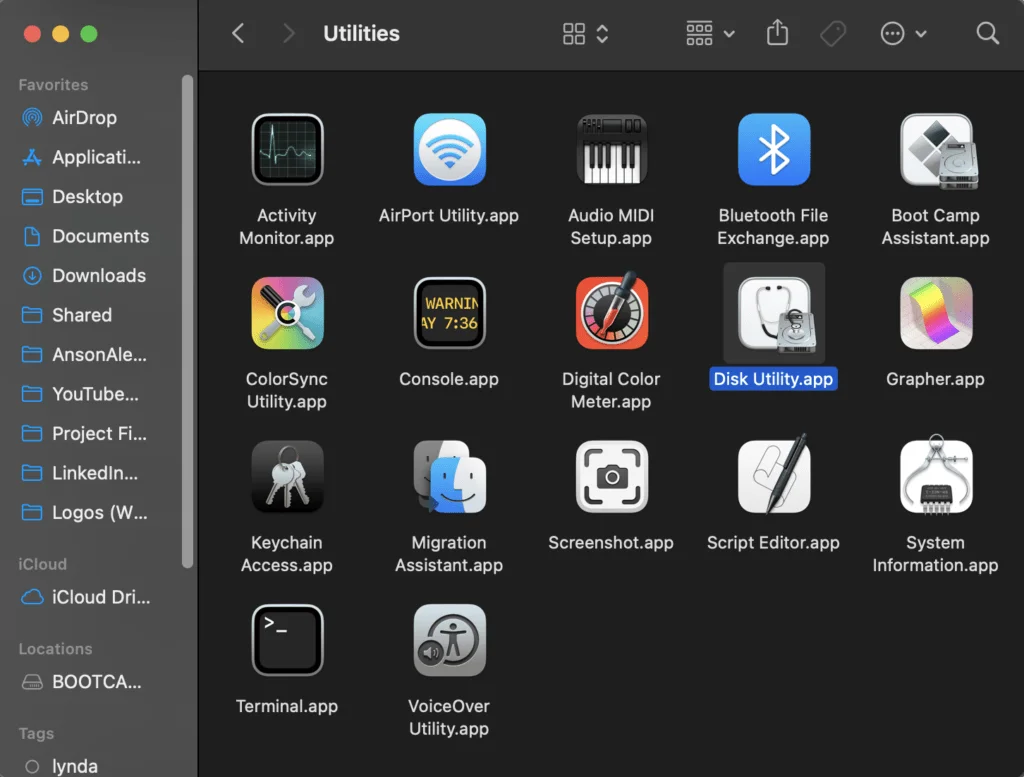
Disk Utility is located inside of the Utilities folder which is inside of the Applications folder.
To open Disk Utility:
- Click on the Finder icon in your toolbar.
- Open the Applications folder.
- Open the Utilities folder.
- Double click on Disk Utility to open it up.
Of course you could always search for Disk Utility in Spotlight or use the Finder menu if you prefer.
Using First Aid in Disk Utility
First Aid is the macOS disk diagnosis and repair utility. It’s used to fix system problems, missing files, corrupt OS installations, etc. Whenever you’re modifying system files it’s a good idea to make sure that you have a working backup before moving forward.
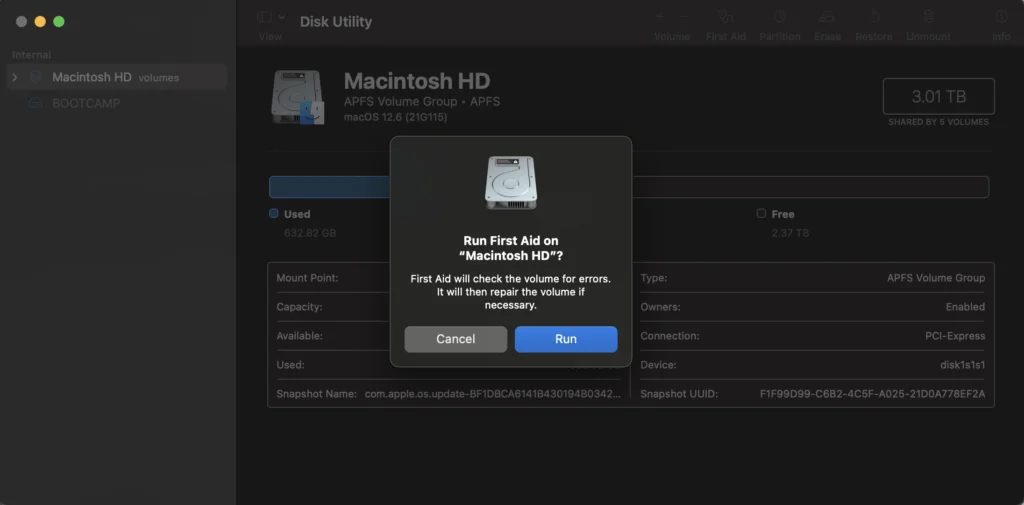
Run First Aid on a Disk:
- Click on the volume that you would like to repair on the left side of Disk Utility.
- Click on the First Aid button at the top of the application.
- Click Run to confirm and begin the repair process.
- Follow the instructions on screen to repair any found issues.
Erasing Volumes in Disk Utility
Erasing volumes and partitions is easy as long as the disk you’re trying to erase isn’t the one you’re currently using. You will, of course, have to choose a new name and file system for the drive once it’s formatted.
You can even format flash drives using the Erase function in Disk Utility. Just make sure you choose the correct file system for the new flash drive. Any of the FAT file system options should work well for Mac, PC and Linux.
Remember, you will lose any and all files that are on the volume that you choose to erase.
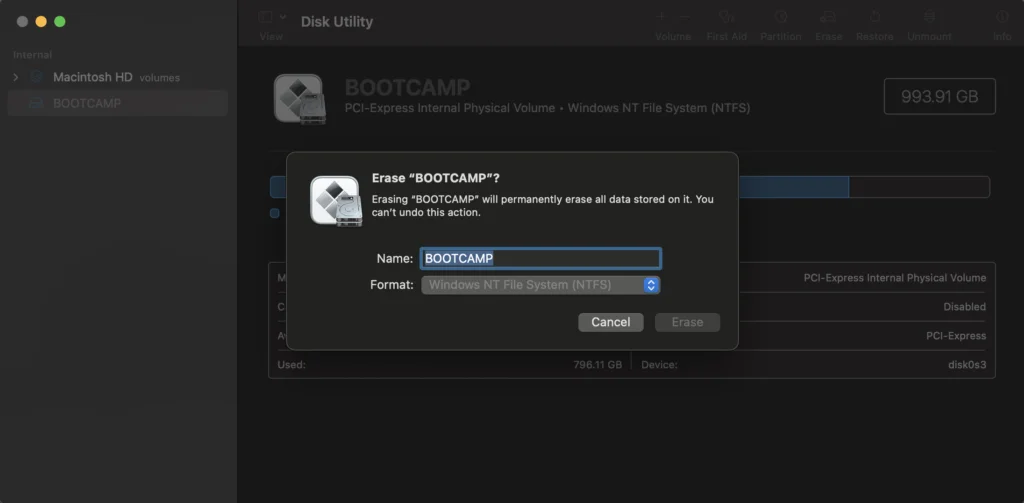
Here are the steps to erasing volumes in Disk Utility:
- Click on the volume that you would like to erase on the left side of Disk Utility.
- Click on the Erase button at the top of the application.
- Choose a new Name for the volume for after it’s formatted.
- Choose a file system Format for the volume to be formatted into.
- Click Erase and then confirm to begin erasing the volume.
What if you you can’t erase a disk in Disk Utility?
If you are trying to erase a volume but the erase button is greyed out, you are most likely trying to erase the volume that you’re currently working from.
To erase your primary volume, you’ll have to create a second volume and then log into a user on that volume and erase the original one.
The only volume that you will not be able to erase unless you go to extensive means is the System Volume and, honestly, you shouldn’t really even need to erase that volume. Repairing and updating should work for most scenarios.
Creating New Partitions with Disk Utility
Unlike in the old days of computing, you can easily create new volumes and partitions on your hard drive with disk utility as long as they have enough free space.
To add a new volume or partition:
- Select a volume or partition in the left side of Disk Utility that has enough free space to support a new volume (I recommend 100GB+).
- Click on the Partition button at the top of Disk Utility.
- Click on the + button at the bottom of the pie chart.
- Select whether you would like to add a new partition or a new volume (there is a difference).
- Drag the white dot on the pie chart to the left to size your volumes and partitions as desired.
- Enter a Name for the new volume or partition.
- Choose a file system Format and confirm that the size is correct based on step 5.
- Click Apply when you are ready to begin creating the new volume.

If you’re looking to create a new partition with the NTFS file system selected for Windows installations, you will have to do so using Boot Camp. I show the process of getting things started with Boot Camp as well as plenty of other tips and uses for Disk Utility in the video above.