PDFs are great for sending a document anywhere and knowing it’ll look the same when it gets there. Editing one is another story, especially in Google Docs. You can convert a PDF to a Google Doc directly in Google Drive, but whether it works well comes down to one thing: whether your PDF has images in it. Text-only PDFs convert fine. If it has images, Google Docs drops them, and you need one extra step. Here’s both, plus how to get your edited document back to a PDF — all with free tools.
My example is an old AnsonAlex.com media kit with text, images and a small table. The steps are the same on Mac and Windows; my screenshots are from Chrome on a Mac.
- Text-only PDF: upload it to Google Drive, open it, and click Open with Google Docs.
- PDF with images: convert it to Word format first — free with Adobe Acrobat’s online PDF to Word tool, or by opening the PDF in Microsoft Word on Windows.
- Upload the .docx to Drive, open it in Google Docs, and choose File → Save as Google Docs.
- To get a PDF back, go to File → Download → PDF Document (.pdf).
Method 1: Convert a PDF directly in Google Drive
In Google Drive, click New → File upload and choose your PDF.
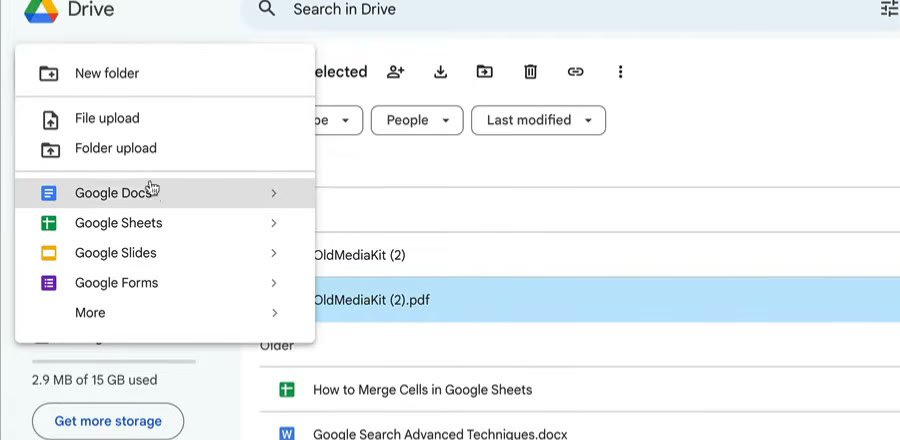
Click the PDF to open it. It opens in Drive’s PDF viewer, so you can read it but not edit it. At the top of the screen, click Open with Google Docs. (You can also right-click the file in Drive and choose Open with → Google Docs.)

Google Docs converts the PDF into a new, editable document. In my test, all of the text came through — and even the small pricing table — but none of the images did. The logo at the top and every picture further down were simply gone.
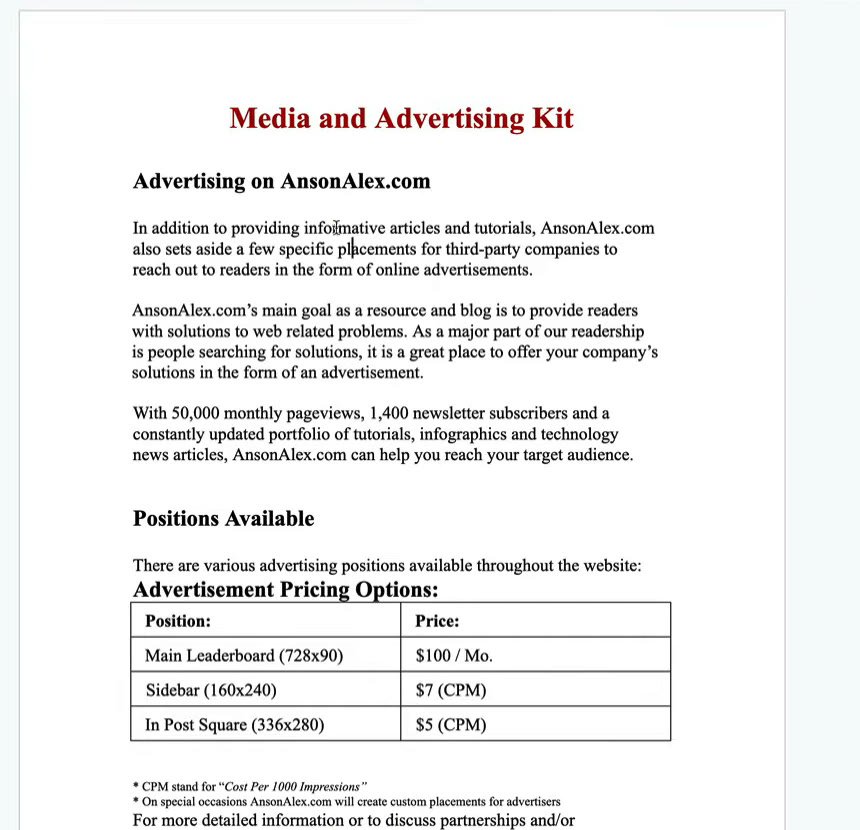
That’s fine for a text-only document. For anything with images, you could screenshot them and paste them back in, but I’d only do that in a pinch. Use Method 2 instead.
Google’s own help page on converting PDFs lists a few limits worth knowing: the file should be 2 MB or smaller, text should be at least 10 pixels high, documents need to be right-side up, and common fonts like Arial or Times New Roman work best. Bold, italics and fonts are likely to survive; lists, tables, columns and footnotes often aren’t detected.
Method 2: Keep the images by converting to Word first
The trick is to convert the PDF into a Word document (.docx) first. Google Docs handles Word files really well, images included.
On Windows with Microsoft Word, this is easy: in Word, go to File → Open and choose the PDF. Word converts a copy into an editable document and leaves the original PDF alone (Microsoft’s instructions). Then save it as a .docx.
Don’t have Word? Use Adobe’s free online converter at adobe.com/acrobat/online/pdf-to-word.html. There’s a paid version of Acrobat, but this tool is free.
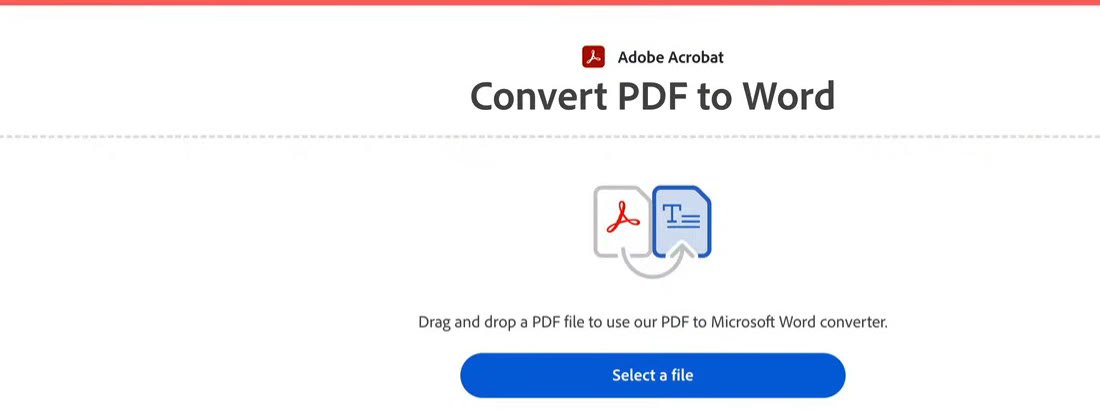
Click Select a file and choose your PDF. When it’s done, download the converted .docx. Adobe asked me to sign in to download it — I signed in with my Google account, which created a free Adobe account — and Adobe’s page now says you may be asked to sign in if you use the tool more than once. There are daily limits on free conversions. If your PDF contains anything sensitive, remember you’re uploading it to Adobe’s servers.
Back in Google Drive, upload the .docx with New → File upload, then open it. Google Docs opens Word files directly, and you’ll see a small DOCX label next to the file name. This time, the images are all there, and you can edit the text and swap out images.
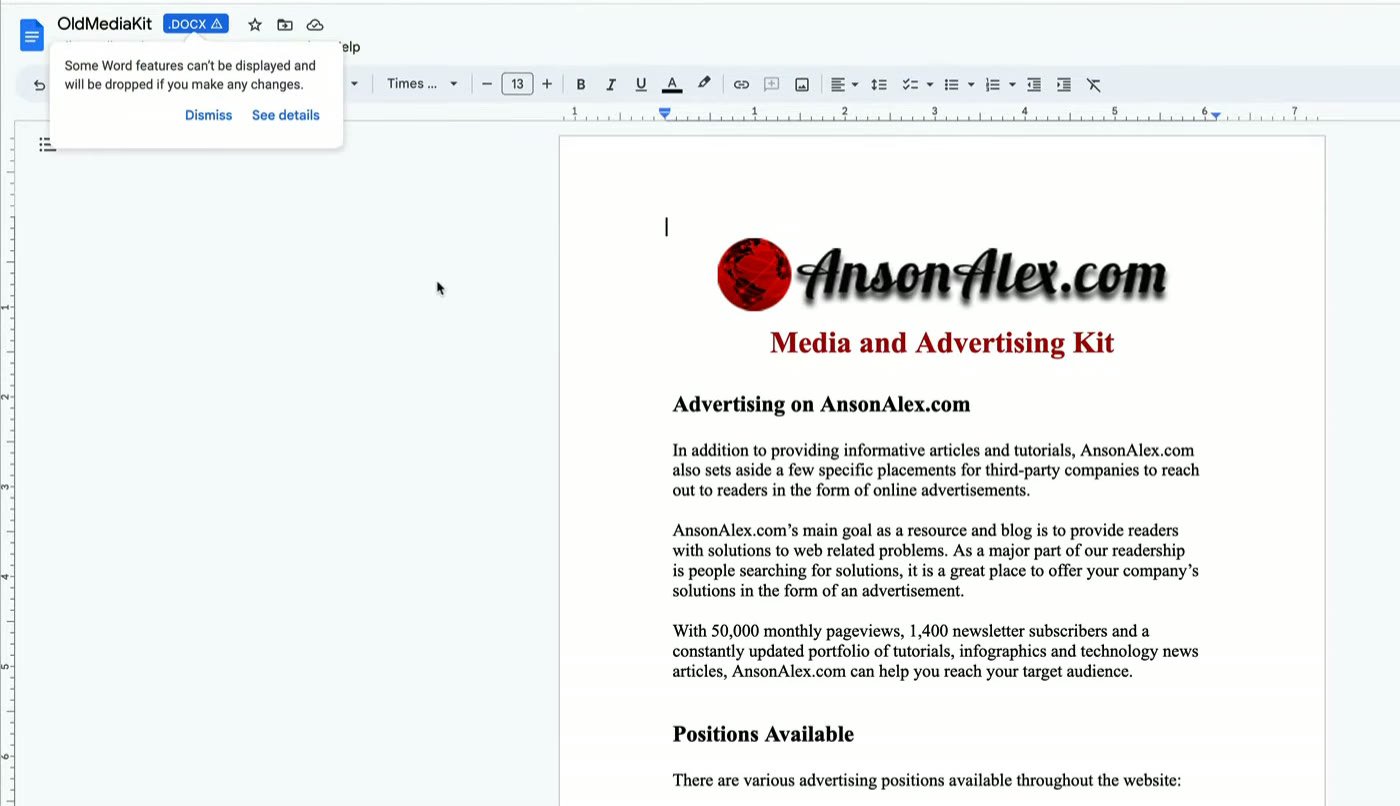
You can keep editing it as a Word file, but if you want it in Google Docs format, go to File → Save as Google Docs. That opens a new copy as a native Google Doc, with the images.
Turn it back into a PDF
This part is easy and doesn’t need any other tool. When you’ve finished editing in Google Docs, go to File → Download and choose PDF Document (.pdf).
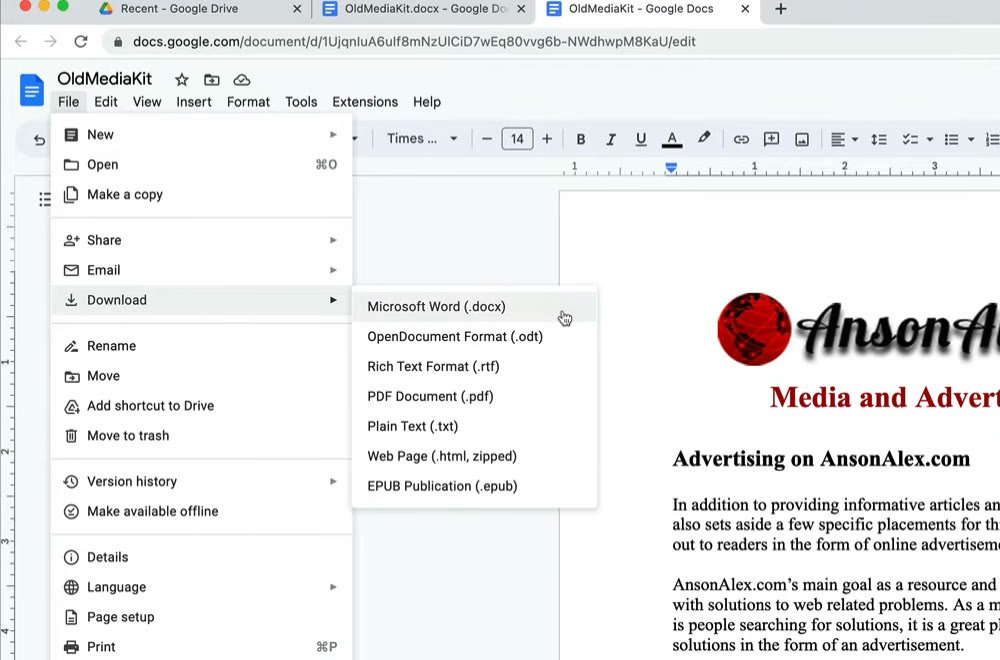
The PDF lands in your Downloads folder. So the full round trip is: PDF → Word → Google Docs → PDF, all with free online tools and nothing to install.
Which method should you use?
| Your PDF | Best route |
|---|---|
| Text only, under 2 MB | Open with Google Docs (Method 1) |
| Has images or a logo | Convert to .docx first (Method 2) |
| A scanned page or photo | Method 1 will try to read the text; expect to fix it up |
If you only need the text out of a PDF on a Mac, I also have an older guide to converting PDF text with Automator. And if you’re new to Google’s apps, my Google Docs and Word guide covers opening Word files in Docs.