Installing macOS on an unsupported Mac is only half the job. Every time Apple ships a point update — 14.5, 15.1, 26.x — you have to get it onto the machine too, and on a Mac running OpenCore Legacy Patcher (OCLP) that isn’t the one-click affair it is on a supported Mac. I’ve updated my unsupported 2013 MacBook Pro three different ways now, and each one worked. Here’s the order that matters, the three methods, and exactly what went wrong for me along the way.
The short version: update OCLP first, then update macOS, then run Post-Install Root Patch again. Skip that last step and your Mac will boot with slow graphics, a flickering screen and often no Wi-Fi.
My updates were all done on a MacBook Pro (Retina, 15-inch, Late 2013), model MacBookPro11,3: Sonoma to 14.5 through Software Update after updating OCLP to 1.4.3 (May 2024), Sequoia 15.0 to 15.1 with a full installer and no USB drive, using OCLP 2.1.0 (November 2024), and an earlier Sonoma update from a USB installer (December 2023). The steps are the same ones Dortania documents for every macOS version OCLP supports, including Tahoe on OCLP 3.0.
- Back up your files and plug in the power adapter.
- Open OpenCore Legacy Patcher and install the app update it offers. Click Yes to update OpenCore and the root patches, install OpenCore to your internal drive’s EFI volume, then reboot.
- Install the macOS update: through System Settings → General → Software Update, or by downloading the full installer from OCLP’s Create macOS Installer if Software Update misbehaves.
- Let the Mac restart on its own — several times. Don’t press anything.
- When you’re back at the desktop, open OCLP, click Post-Install Root Patch → Start Root Patching, and reboot.
Minor update or major upgrade?
This guide is for minor updates — the “dot” releases inside the version you’re already running, like Sequoia 15.0 to 15.1 or Tahoe 26.x to a newer 26.x. Those are the ones Apple keeps shipping for security fixes, and they’re the ones you’ll do over and over.
Major upgrades — Sonoma to Sequoia, or Sequoia to Tahoe — are a different job. Dortania’s update guidance says to use a USB installer for those, and that upgrading through System Settings “may work” but isn’t recommended. For that, follow the full install guide for the version you’re moving to:
- Install macOS Tahoe on unsupported Macs — needs the OCLP 3.0 prerelease, and includes how to upgrade without erasing
- Install macOS Sequoia on unsupported Macs
- Install macOS Sonoma on unsupported Macs
Before you update
- Turn off automatic macOS updates. Go to System Settings → General → Software Update, click the info button next to Automatic Updates, and turn off Download new updates when available and Install macOS updates. You want to choose when an update happens, after OCLP is ready for it — not have the Mac start one overnight.
- Back up anything you can’t lose. I copy important folders to an external drive before every update on this Mac rather than relying on a Time Machine backup of an unsupported install. If you need one, an external SSD for Mac backups is the easiest option.
- Plug in the power adapter and stay on a reliable internet connection. After an update, OCLP may need to download extra support files before it can patch — Dortania mentions KDKSupportPkg and, on some Sequoia systems, MetallibSupportPkg — and that needs internet.
- Check the OCLP release notes for your macOS version before you start. If an update is known to cause problems, that’s where it shows up first.
Step 1: Update OpenCore Legacy Patcher first
Open OpenCore Legacy Patcher from your Applications folder (or search for it in Spotlight). If there’s a newer version, a window pops up saying A new version of OpenCore Legacy Patcher is available! with the changelog. Go ahead and click Download and Install, and enter your password when it asks.
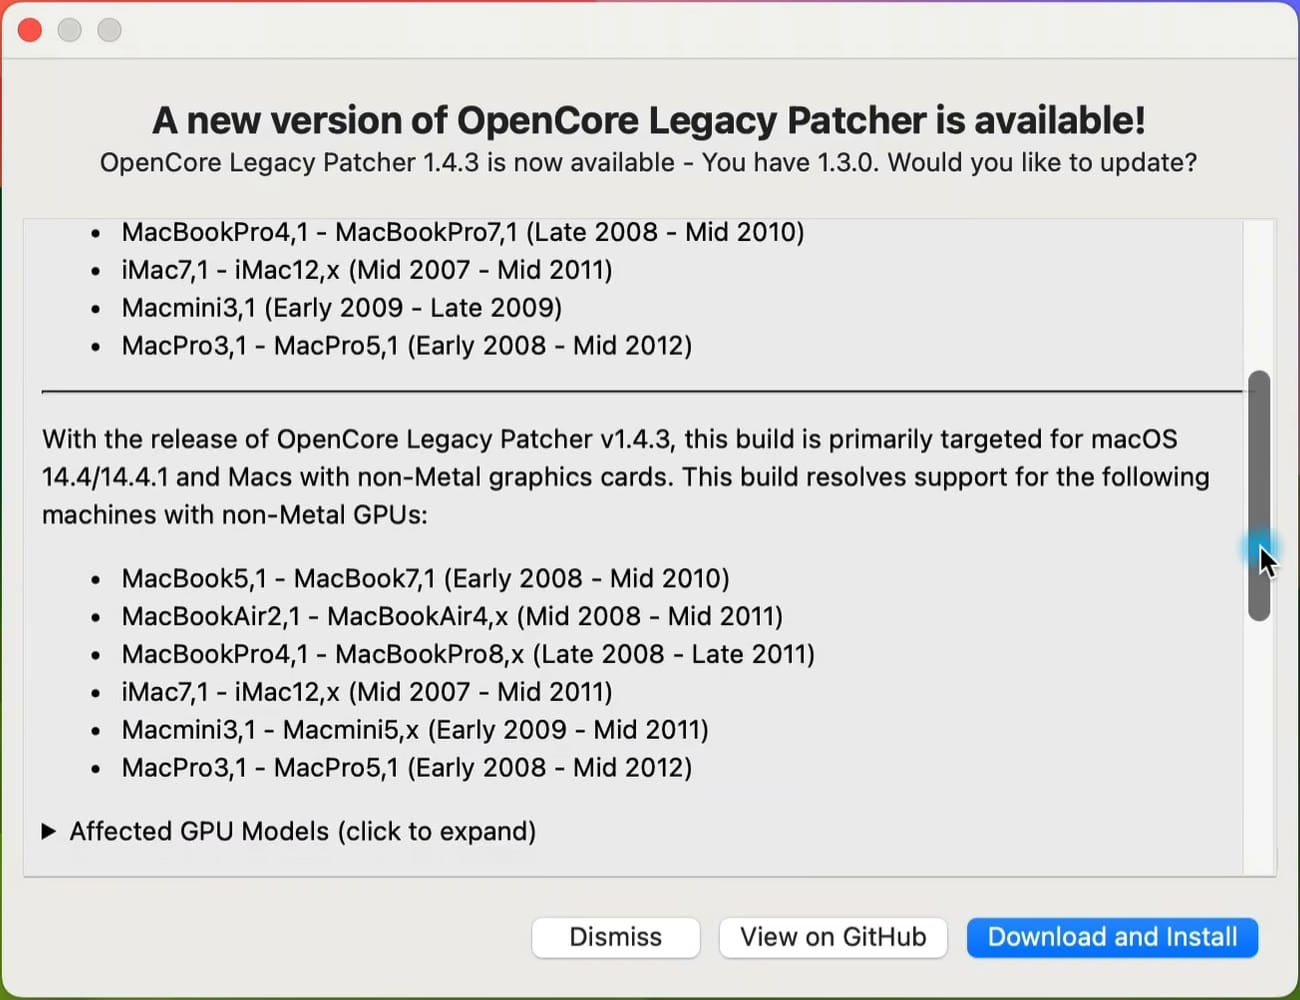
I find OCLP is a lot more reliable when both it and macOS are kept up to date together, so always do this part first. Downloading and installing the app update took me under a minute.
When it finishes, OCLP asks whether you’d like to update OpenCore and your root volume patches. Every single time — click Yes. If you’re not sure whether you should, you should.
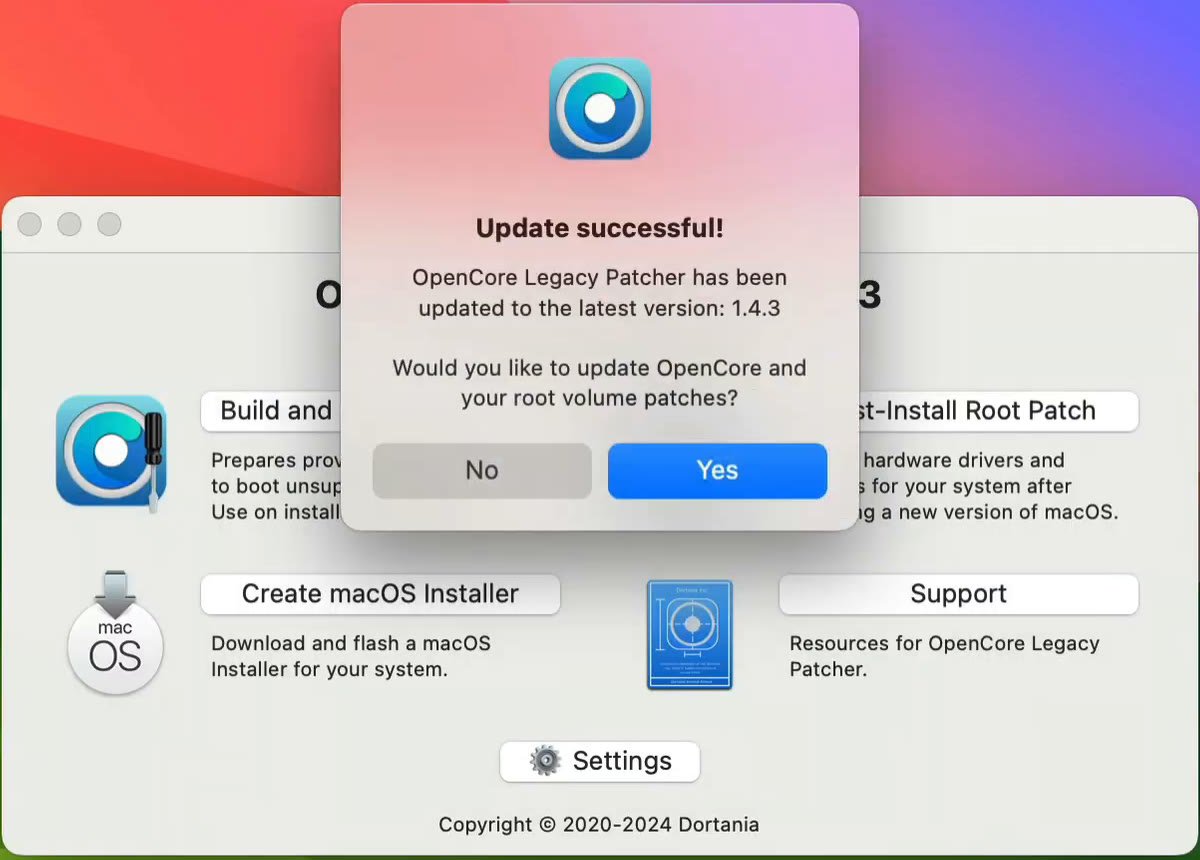
OCLP builds OpenCore. Click Install to disk, choose your Mac’s internal drive — not a USB stick or a backup drive — and then its EFI volume. When OpenCore is installed, click Yes to update the root patches and Start Root Patching. Enter your password, and when it finishes, reboot to apply the changes.
That whole stage — app update, OpenCore and root patches, plus the reboot — took me about four minutes on Sonoma and about five on Sequoia.
At this point you’ve updated OCLP, but not macOS. About This Mac will still show the old version.
Step 2: Install the macOS update
There are three ways to do this. Start with Software Update. If it won’t offer the update or keeps failing, use the full installer from OCLP. Keep a USB installer for when nothing else works.
Method 1: Software Update (the documented way)
This is the route Dortania documents for minor updates, and it’s what I used to get Sonoma to 14.5. Go to System Settings → General → Software Update. It can take 30 seconds or so to check, and then the update shows up — for me it was macOS Sonoma 14.5. Click Update Now.
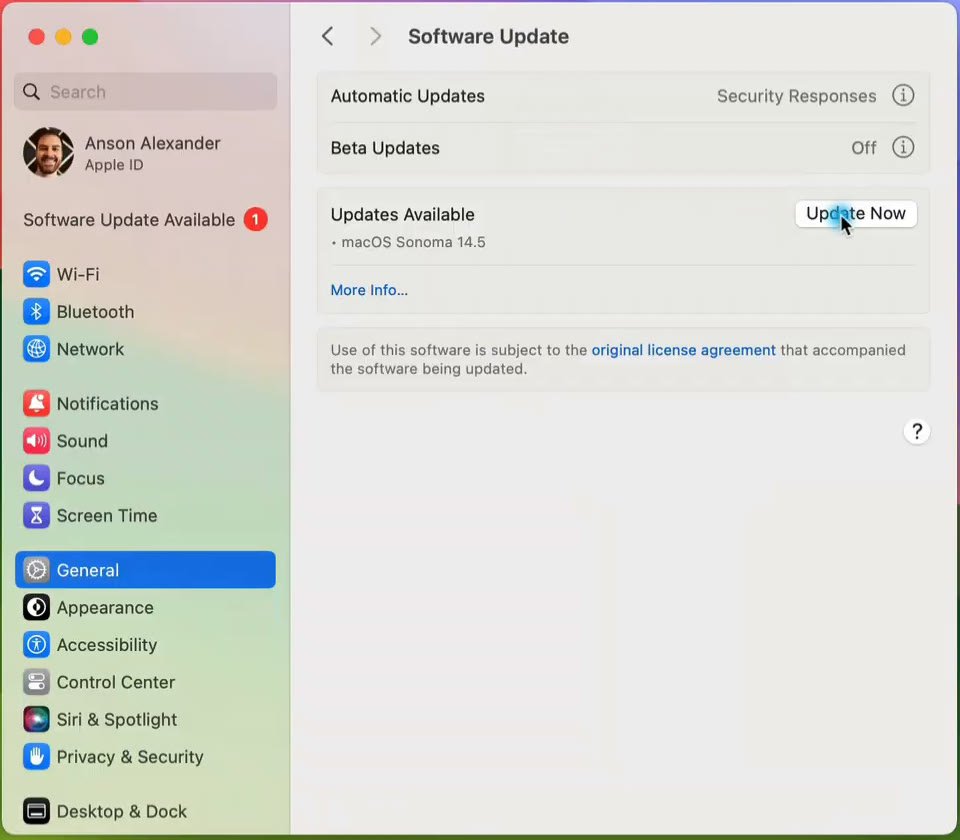
Now, here’s where things got a little sketchy for me. I waited about five and a half minutes with no sign of the download, and then it failed with an error I’d never seen before: The available software updates have changed. Try again or contact Apple support for assistance.
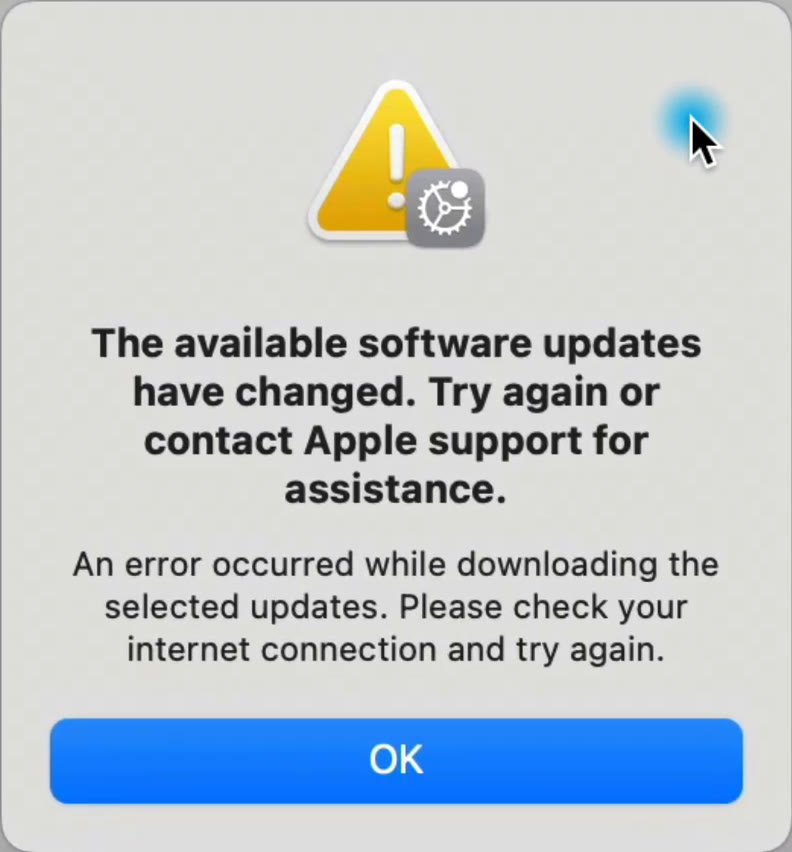
Apple support isn’t going to help you with an unsupported Mac, so don’t bother. I pressed Command-Option-Esc, force quit Software Update (System Settings), which was showing as not responding, and closed System Settings.
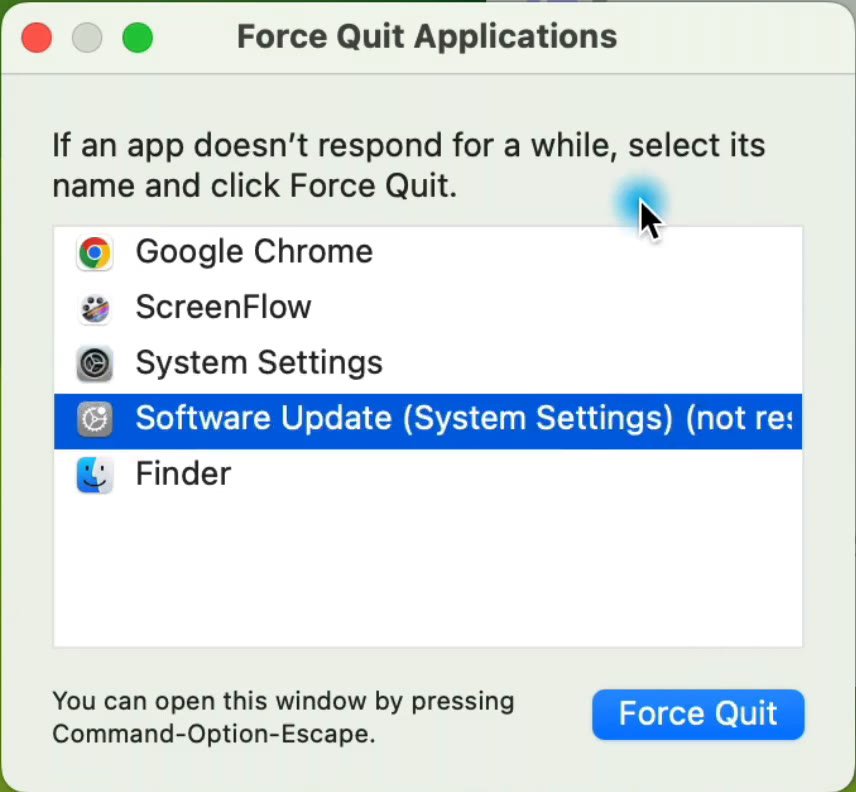
Then I went right back into General → Software Update, clicked Update Now again, and after nearly a minute it started downloading — this time without errors. The download itself took about 14 minutes, on top of about 10 minutes of troubleshooting to get it going.
It’s a big download because on an unsupported Mac, OCLP has the update essentially reinstall the whole operating system rather than patch the bits that changed. When it finished, I clicked Restart.
This is where patience matters. My Mac restarted with a loading bar four times over about 16 minutes. The startup disk picker appeared on each restart, but I didn’t touch anything and it picked the right disk every time. Don’t interrupt it.
Method 2: The full installer from OCLP, no USB needed
This is what I do when Software Update doesn’t offer the update, or keeps failing — and Software Update hasn’t worked that well for me on older OCLP versions with Sonoma and Sequoia. It’s how I got Sequoia from 15.0 to 15.1.
Open OpenCore Legacy Patcher, click Create macOS Installer, then Download macOS Installer. Pick the version you’re updating to from the list — mine was macOS Sequoia 15.1 — and click Download.
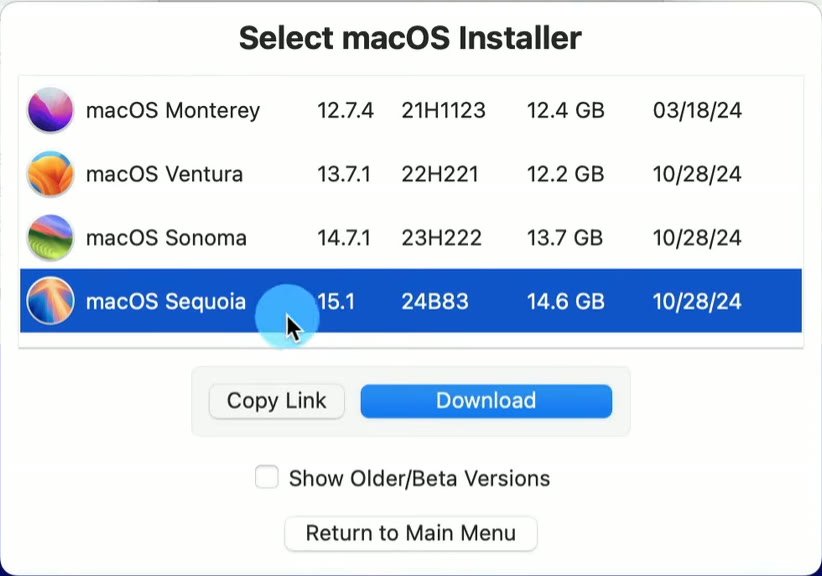
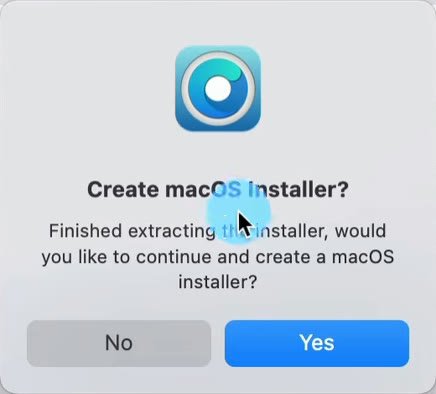
The download took me about five minutes on a fast connection, then about a minute to validate and a little over a minute to extract. OCLP then asks if you want to create a macOS installer. Click No. You don’t need a USB drive for this, because OpenCore is already installed on your Mac.
Quit OCLP. Then go to your Applications folder, find Install macOS Sequoia (or Sonoma, or Tahoe — whichever you downloaded), and double-click it. Click Continue, agree to the license, choose your Macintosh HD, click Continue, and enter your password.
Mine said about 58 minutes remaining, but the install actually took about 12. It sat at the 28-minute mark for a long time and then finished all at once. Click Restart. That restart takes longer than normal — mine showed a loading screen with about nine minutes remaining while it finished the update.
When it came back up, my mouse was moving very slowly, the screen was flickering, and the wallpaper wasn’t mine. That’s normal at this stage: it’s a fresh copy of macOS without OCLP’s patches. Log in carefully — every keystroke made the cursor spin for me — and go straight to Step 3.
It was a bit sketchier than using a USB drive, but it worked, and now you know it’s possible.
Method 3: A USB installer
The most robust option, and the one Dortania recommends for major upgrades. It’s the same process as the original install, just without erasing anything: create the installer on a USB drive in OCLP, install OpenCore to the USB, boot from it, and install over your existing system. The Sonoma guide and Tahoe guide walk through each screen.
A few things from when I updated Sonoma this way:
- Create the installer on the Mac you’re updating. You can make it on a newer Mac, but you’d have to change settings in OCLP, so it’s simpler to do it on the old one.
- The USB drive gets erased. Sonoma needed 16GB or larger; Tahoe needs 32GB or larger. If you need one, USB 3.0 flash drives 32GB. A faster drive saves a lot of time.
- When OCLP asks where to install OpenCore, choose the USB drive — not your Mac’s drive, and definitely not a Time Machine backup. Then restart holding Option, choose EFI Boot, and pick Install macOS from there.
- After the install, install OpenCore to the internal drive again when OCLP prompts you, so you can boot without the USB.
It was slow: 7 minutes to download and extract the installer, 11 minutes to put it on the flash drive, and about 25 minutes for the install — 43 minutes in total when everything went well. And for me, it didn’t quite: the Mac restarted three times and got stuck on the third. More on how I fixed that below.
The two Amazon links on this page are affiliate links — as an Amazon Associate I earn from qualifying purchases, at no extra cost to you.
Step 3: Run Post-Install Root Patch again
Whichever method you used, the update replaces the parts of macOS that OCLP had patched. You’ll usually notice: a black or default wallpaper, tiny or laggy interface, flickering graphics, and sometimes no Wi-Fi. On Sonoma 14.5, OCLP popped up a prompt asking to install root patches on its own; on Sequoia 15.1 I opened the app myself.
Open OpenCore Legacy Patcher, click Post-Install Root Patch, and you’ll see the patches it’s going to apply for your hardware — on my MacBook Pro that’s Nvidia Kepler and Intel Haswell graphics, modern wireless and the FaceTime camera. Click Start Root Patching, let it relaunch as admin if it asks, and enter your password.
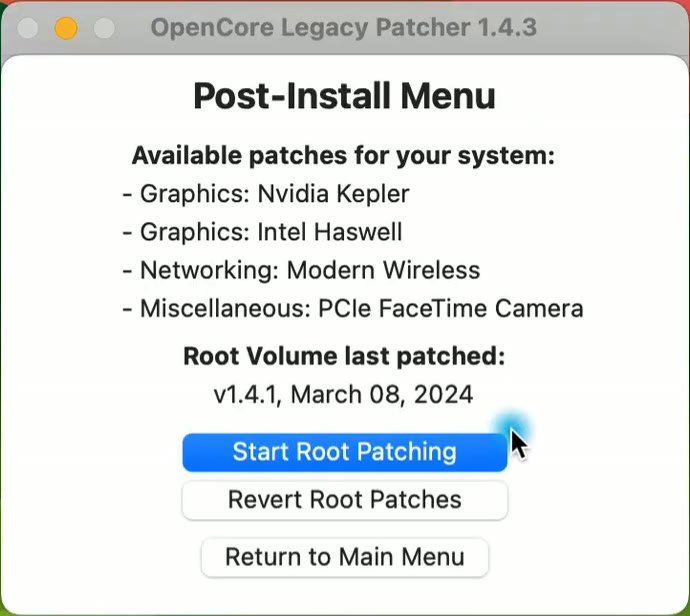
When it finishes, reboot. Back at the desktop, your own wallpaper should be back, everything should feel normal again, and Apple menu → About This Mac should show the new version.
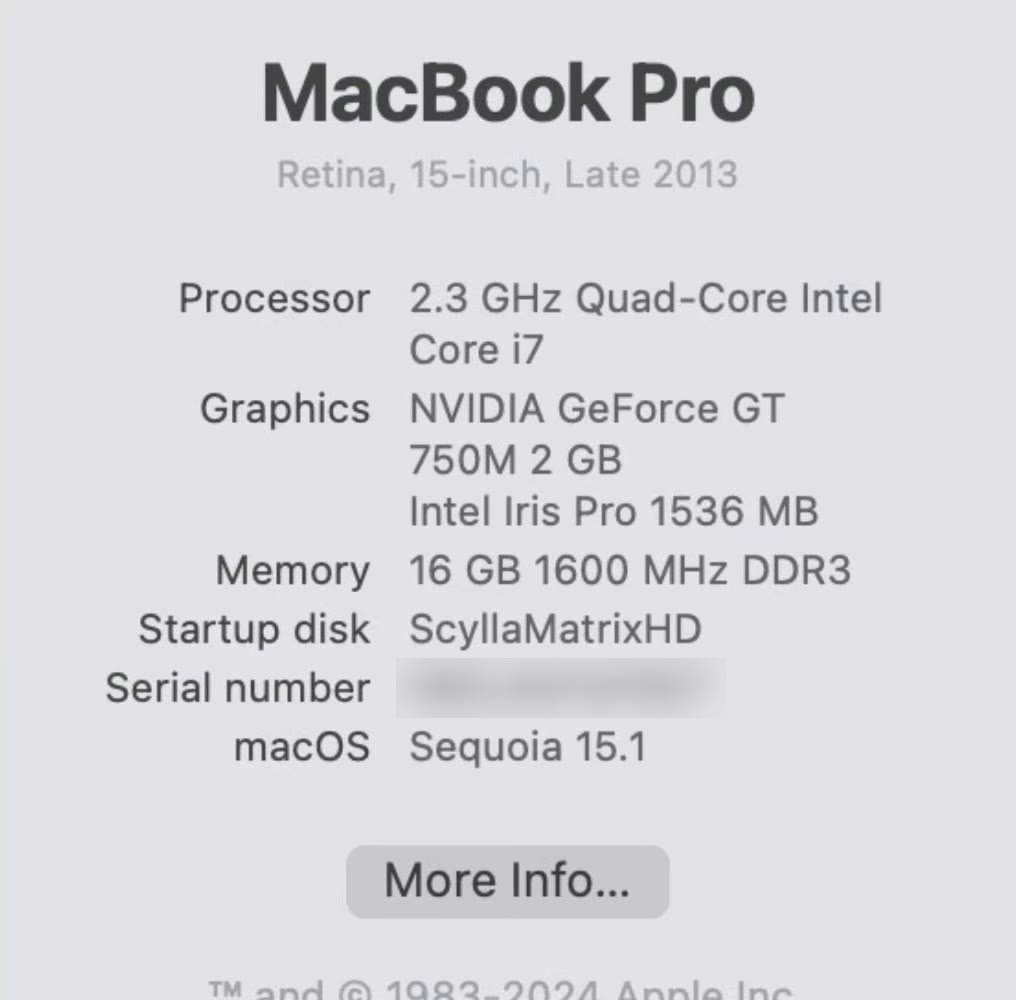
Do this after every single update, even if the Mac seems fine. If it doesn’t have internet yet because Wi-Fi was one of the things the update broke, get online another way first — my Tahoe guide covers using an iPhone hotspot over USB for exactly this.
How long it took me
| Update and method | Time on my Mac |
|---|---|
| Updating OCLP itself | ~4–5 min, including the reboot |
| Sonoma → 14.5, Software Update | ~14 min download (after ~10 min fixing the error), then 4 restarts over ~16 min |
| Sequoia 15.0 → 15.1, full installer without USB | ~5 min download, ~2 min to validate and extract, ~12 min install, ~9 min finishing on restart |
| Sonoma update, USB installer | 43 min: 7 to download, 11 to build the USB, 25 to install |
That’s not counting root patches and the final reboot, which only take a few minutes. Plan on about an hour, and don’t start an update when you need the Mac for something important.
If something goes wrong
- “The available software updates have changed”: force quit Software Update with Command-Option-Esc, reopen System Settings, and try again. If it keeps failing, use Method 2.
- The update never shows up in Software Update: use Method 2 — download the full installer from OCLP and run it from Applications.
- It’s stuck on a loading bar or keeps restarting: give it longer than you think; four restarts is normal. If it’s genuinely stuck, start up in safe mode. I held the power button until the Mac shut down, held Option at startup, selected EFI Boot, then held Shift while selecting my Macintosh HD. It went through an odd loading screen, rebooted and came right up. It also took me a couple of restarts afterwards before the Mac picked the right startup disk by itself.
- Slow, flickering, tiny interface or a black wallpaper after updating: the root patches are gone. Run Step 3.
- No Wi-Fi after updating: same cause. Get online with an iPhone hotspot over USB or Ethernet, then run Post-Install Root Patch.
- OCLP keeps offering the same update after you’ve installed it: that happened to me after Sonoma 14.5 — OCLP still said 1.3 after I’d installed 1.4.3 twice. That release was aimed at non-Metal Macs, which mine isn’t, and everything else worked, so I left it. Check the release notes if you see the same.
- It won’t boot at all: don’t erase anything yet. Work through my Mac boot loop recovery guide first.
- You’d rather go back: here’s how to downgrade macOS to an older version.
Honestly, if you’re doing this every few months and it’s starting to feel like a chore, it’s worth thinking about whether the machine is still worth patching at all. My keep, fix, or replace an Intel Mac guide walks through that decision.
More unsupported Mac guides
- Install macOS Tahoe on unsupported Macs — the newest OCLP install, and the last macOS for Intel Macs
- Install macOS Sequoia on unsupported Macs — still the more mature option on many older Macs
- macOS Upgrade Guide — which version your Mac should actually run